OneTrust is a popular platform that provides data governance, privacy management, and security solutions to thousands of businesses around the world. Its consent management solutions are used by many digital marketing and engineering teams for implementing cookie compliance and consent management on various martech systems.
The JavaScript SDK integrates seamlessly with the OneTrust SDK and lets you map OneTrust cookie/consent groups to RudderStack's consent purposes. RudderStack, in turn, uses this consent information to enable/disable tracking and sending the data.
How the integration works
Whenever a user starts browsing a website, OneTrust pops up a modal to take consent from that user. This modal contains a list of cookie groups representing the GDPR consent purposes that the user has declined or consented to.
The JavaScript SDK fetches these consented groups as well as the destination - OneTrust category mappings specified in the RudderStack dashboard. Depending on these settings, the SDK will filter the destinations.
Setting up the integration
The following sections highlight the steps required to set up the JavaScript SDK integration with OneTrust.
Step 1: Configuring OneTrust
Follow these steps to configure OneTrust for your web app:
- Create a OneTrust account. Make sure it has access to the Cookie Compliance app.
- Then, add your website and scan it.
- Next, go to the Categorizations section. Here, define the new categories or modify the existing ones, as per your requirement.
- Finally, go to the Scripts section and publish this script.
Step 2: Specifying the OneTrust Cookie Categories in RudderStack
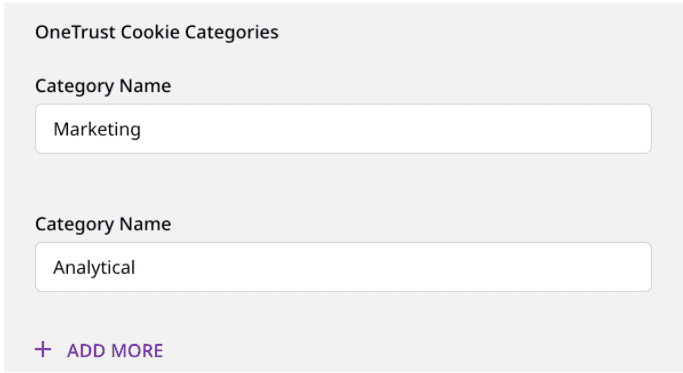
This step involves enabling OneTrust for a given JavaScript source. To do so, specify the consent category names as defined in OneTrust (Step 1) for each destination that is connected to that JavaScript source.

Step 3: Setting up your website/web app
Before following the steps in this section, load the OneTrust script that you published in your web app in Step 1. A sample script is shown below:
<!-- OneTrust Cookies Consent Notice start for samplewebsite.com --><script src="https://cdn.cookielaw.org/scripttemplates/otSDKStub.js" type="text/javascript" charset="UTF-8" data-domain-script="xxxxxxxx-xxxx-xxxx-xxxx-xxxxxxxxxxxx" ></script><script type="text/javascript"> // Required OneTrust callback function OptanonWrapper() { }</script><!-- OneTrust Cookies Consent Notice end for samplewebsite.com -->- Important: Load the JavaScript SDK only after the user provides the consent.
One way to load the JavaScript SDK after the user provides the consent is to modify the OptanonWrapper() callback function provided by OneTrust, as shown:
function OptanonWrapper() { if (window.OneTrust.IsAlertBoxClosed()) { // Load the SDK rudderanalytics.load( <WRITE_KEY>, <DATA_PLANE_URL>, { ...otherOptions //optional } ); }}- Then, add the
cookieConsentManageroption in theload()call as shown in the following snippet:
rudderanalytics.load( <WRITE_KEY>, <DATA_PLANE_URL>, { cookieConsentManager: { oneTrust: { enabled: true } }, ...otherOptions //optional });Once you complete these steps, RudderStack reads the consented categories and filters the destinations accordingly.
Contact us
For queries on any of the sections covered in this guide, you can contact us or start a conversation in our Slack community.