JSON Column Support
Detailed technical description of the JSON column feature supported by the warehouse destinations.
With JSON column support, you can now ingest semi-structured event data not defined by a fixed schema. Also, you can directly store a nested event payload without worrying about the length limit in your warehouse columns.
track events.Using the JSON column feature
You can use the JSON column feature using any of the following approaches:
Declaring JSON columns at the event level
You can use the SDK's integrations: options parameter to specify the JSON columns at the event level. The following example demonstrates the use of the JavaScript SDK's IntegrationOpts parameter to declare the JSON columns:
"integrations": { "All": true, "RS": { "options": { "jsonPaths": ["testArray", "testMap.nestedMap"] } }Here, nestedMap is declared as a JSON column and is in the following format:
{ "testMap": { "nestedMap": { ... } }}// To declare nestedMap as a JSON column, add "testMap.nestedMap" in the above list.options parameter by default. Refer to the following SDK guides for more context:Then, include the column path from the event payload in the destination_type.options.jsonPaths list, as seen in the above code snippet.User transformations
You can also declare the JSON columns using a custom transformation, as shown:
export function transformEvent(event, metadata) { const meta = metadata(event); if (event.event === 'product_clicked' && meta.sourceId === "source_id" && meta.destinationType === "RS") { // ex: BQ, POSTGRES, SNOWFLAKE if (!event.integrations) event.integrations = {}; event.integrations["RS"] = { options: { jsonPaths: ["testArray", "testMap.nestedMap"] } } } return event;}The above transformation applies the JSON column to only product_clicked type of track events coming from a particular sourceId.
Declaring JSON columns during destination configuration
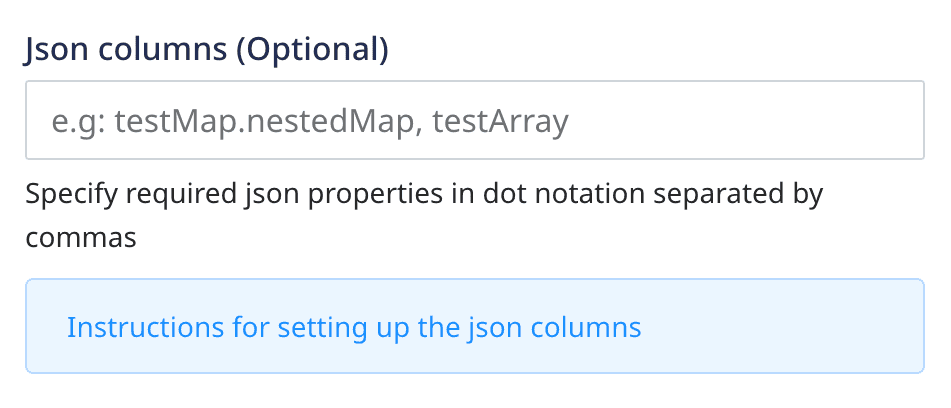
While configuring your warehouse destination settings in RudderStack, you can pass the required JSON column paths using the dot notation and separated by a comma in the JSON columns field as shown:

track events sent to the warehouse destination.Semi-structured data usage and limitations
For warehouse-specific information on working with semi-structured data and the associated limitations, refer to the following guides:
| Warehouse | Data type | Reference |
|---|---|---|
| Redshift | SUPER | Documentation |
| BigQuery | STRING (More information on how RudderStack treats the JSON columns as strings in this FAQ) | Documentation |
| PostgreSQL | JSONB | Documentation |
| Snowflake | VARIANT | Documentation |
FAQ
Which events are supported in this feature?
The JSON column feature supports only track events.
Which data types are supported in this feature?
The JSON data type includes String, Integers, Float, Arrays, Booleans, and Maps.
How can I use the JSON column feature in BigQuery?
Google BigQuery has released JSON support only as a preview feature. Hence, RudderStack will treat the JSON columns as strings and insert the JSON strings as the values. You can use the JSON functions to query the semi-structured data.
For more information, refer to the BigQuery documentation.
How does RudderStack determine the column data type? Can I change an existing data type for a column?
RudderStack determines the data type of a column based on its value in the first event (during the first upload sync).
For example, suppose column_x is received with the value as 1. RudderStack then sets the data type of this column as int in the event table.
To set your preferred data type for a particular column, it is highly recommended to follow these steps:
- Create a column in the warehouse with a dummy name and the required data type.
- Cast the data from the original column and load it into the dummy column.
- Drop the original column.
- Rename the dummy column to the original column name.
Contact us
For queries on any of the sections covered in this guide, you can contact us or start a conversation in our Slack community.